Adding a Border in Picmonkey
The borders on the Project Life app pages are rather narrow. They look fine on screen but you might find you lose the edge when they're printed - whether in a book or as single pages. You can add borders in various apps. This tutorial shows you how to add a border in Picmonkey. It's not an app, you need to use it on your computer, but it's free for what we're doing now and you do not need to download any software. The clever thing is you can add a border exactly the same colour as the existing background on your page so you are effectively extending the border.
Open your PL app page in Picmonkey (just click on Edit at the top and a window will appear for you to select it....).
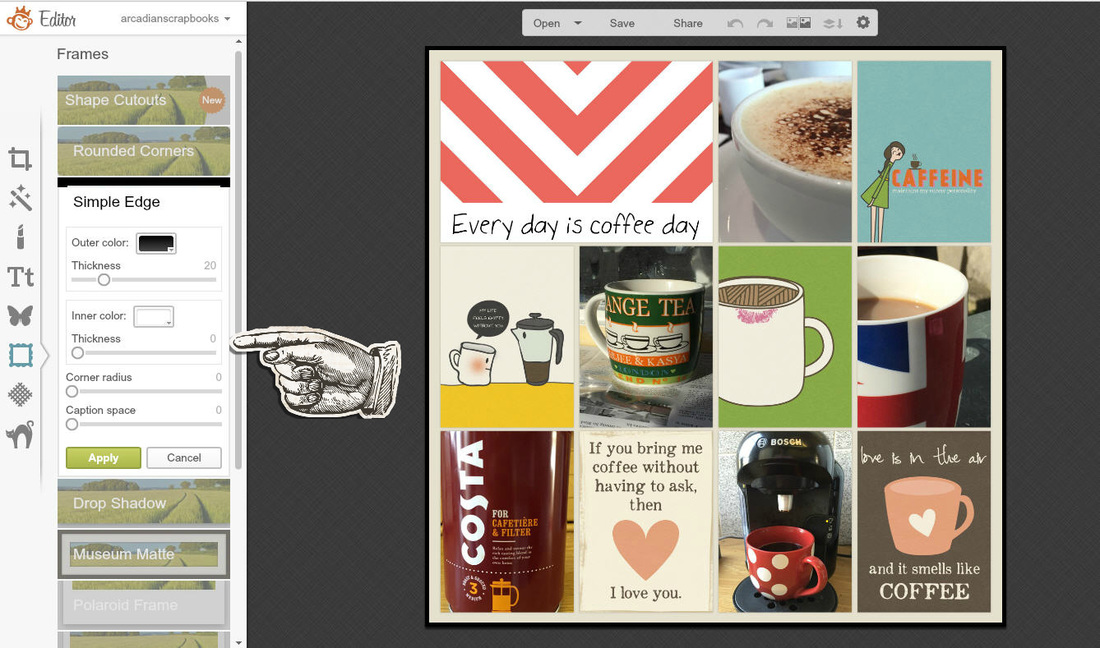
Click on the Frames option in the left hand menu - the one below the butterfly - then select Simple Edge.
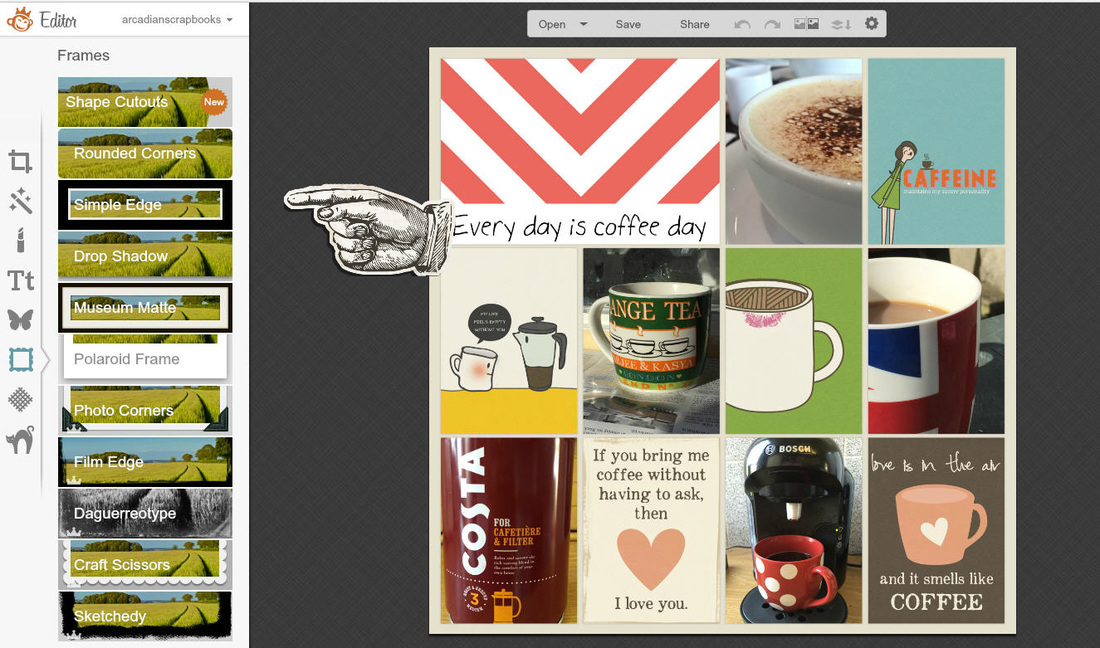
Two borders will appear around your page. Reduce the inner one to zero so it disappears:
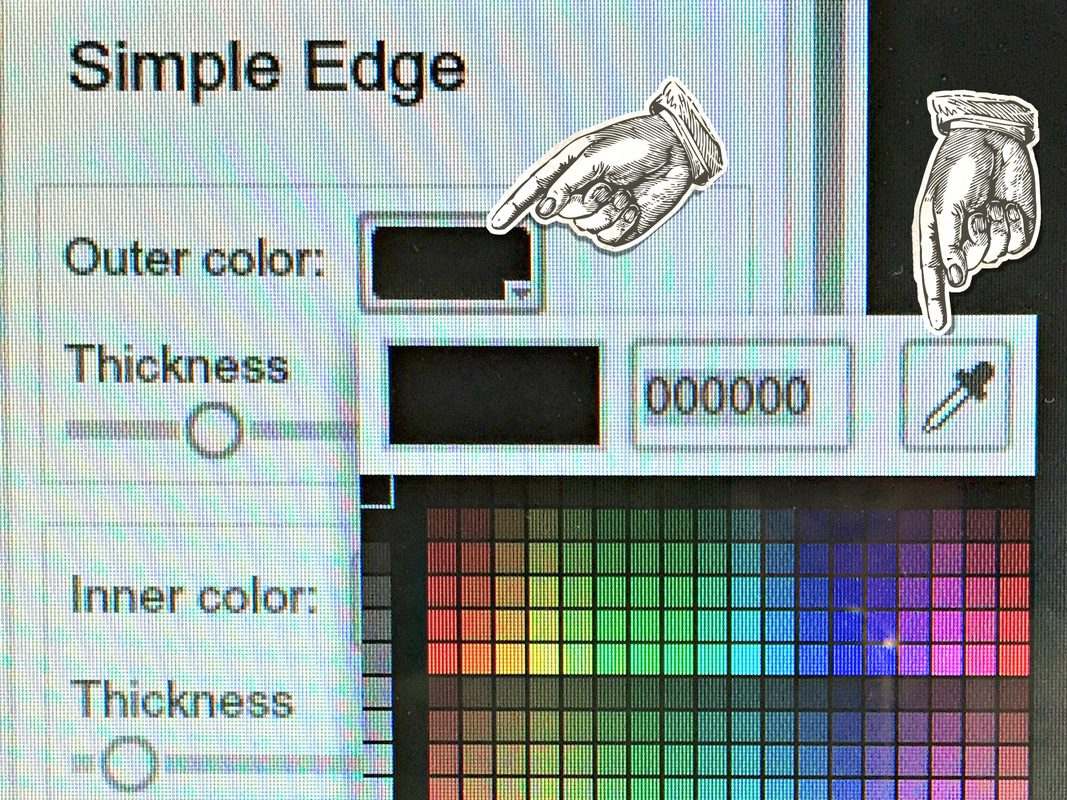
[Please excuse picture quality - I had to take a photo of my screen for this next one] Click in the box for the "outer color".
The colour chart will appear. Click on the Picker then click on the existing border on your page. The outer boder will change colour to match it.
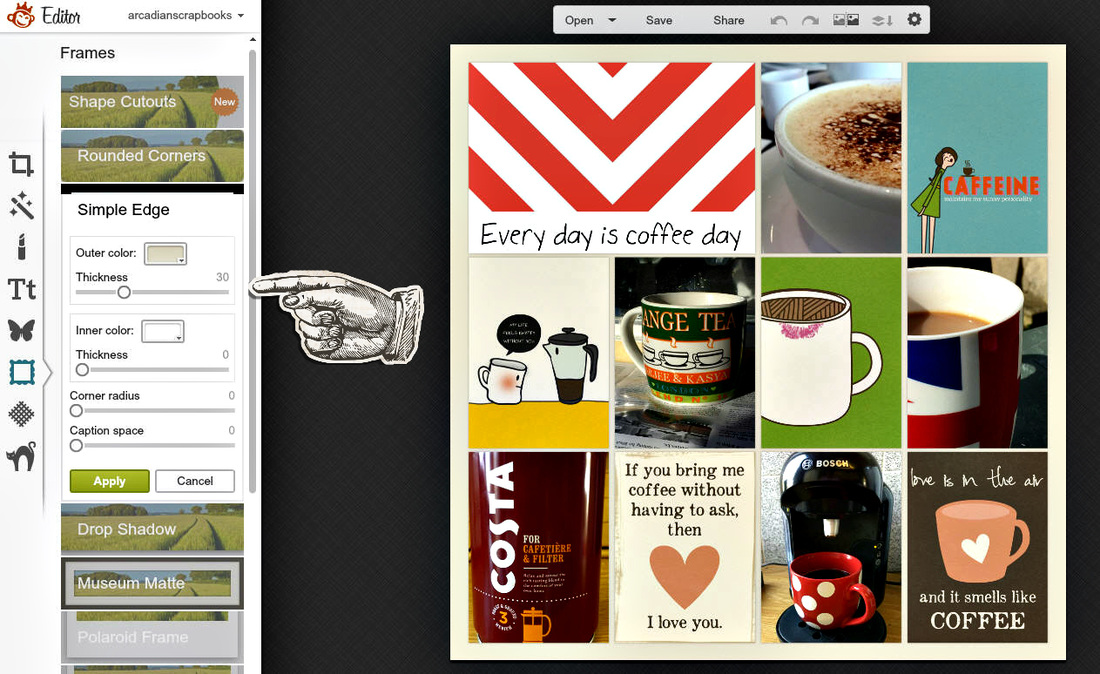
You should not be able to see the join - and you now have a wider border. I usually set the thickness at 30 but you may to experiment to see what happens with your print service.
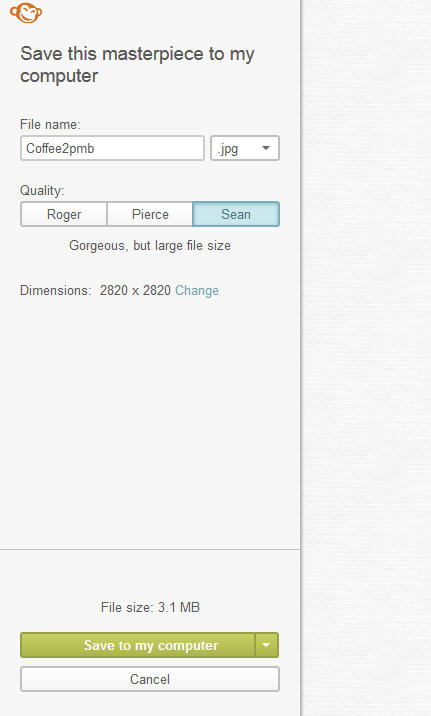
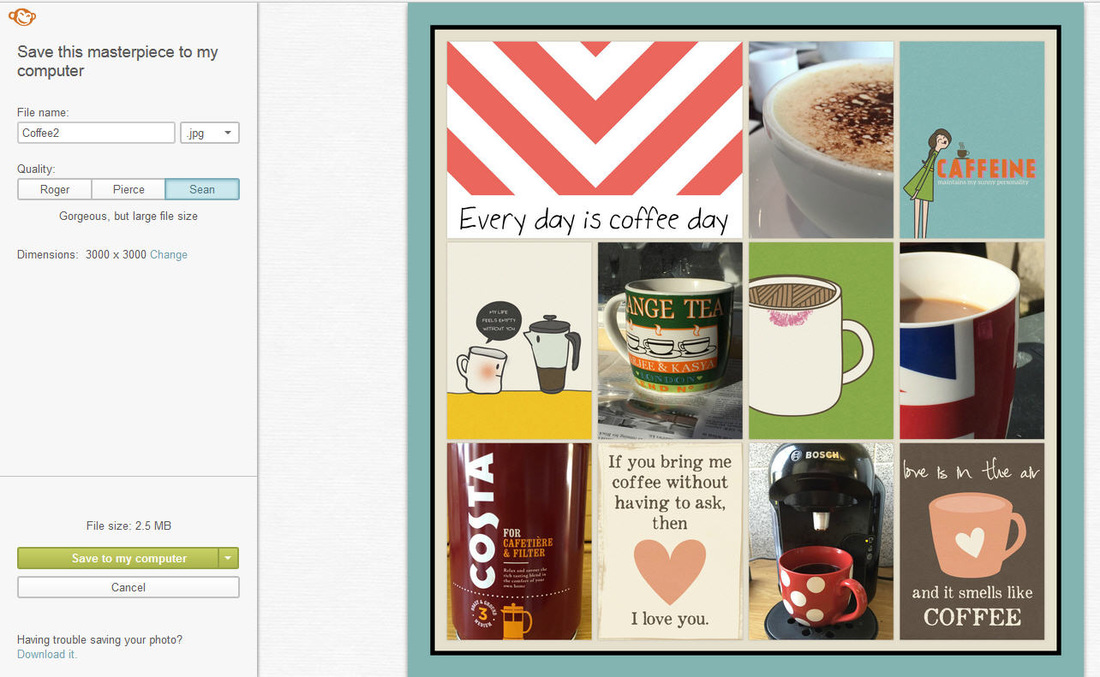
Click Save at the top and choose where to save the new image on your computer. NOTE: Picmonkey overwrites the existing image if you try to save it to the same folder. It will warn you first. Try to get into the habit or renaming your Picmonkey files. I always add pm on the end so I know I altered it in Picmonkey. In this case I added "pmb" to show me a border was added in Picmonkey. Make sure you choose the highest resolution - "Sean" in this case although they have a sense of humour and often change the names. It will be the one on the right!
Of course you can experiment with different sizes of borders and colours. In this example I matched the outer border to the colour of the card top right. Note the borders are added to the outside edge of your page so the overall size is increased:
Have a play with this and see what you think. If you need any help you can ask on the Divas group here and we'll be happy to help.

